Windows Recovery Environment
System backup & Restore Guide
Click here to find out how to Start the Recovery Environment (WinRE)
Note: This is only useful if you have previously made a system image of your install
Warning: Restoring from a backup means you will loose all your data on your hard drive.
Note: back sure backup device is connected or first DVD of your backup is inserted before starting
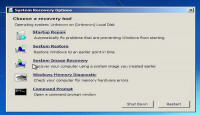
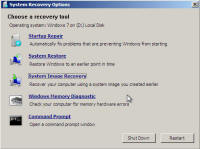
From the "Recovery Options" menu select "SYSTEM IMAGE RECOVERY"... |
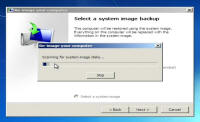
Your system will now scan for your backup.. |
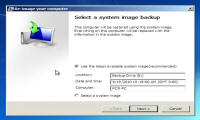
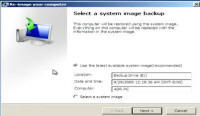
The latest backup "System image" will be found, if you have multiple images click on "Select an image" to pick another one, click "Next" to continue |
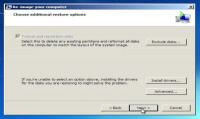
You can make further changes at this screen, exclude disks, load motherboard drivers for the hard drive, etc etc. Make any changes needed and click "Next" to continue. |
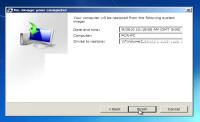
If you are happy with your selection the hit "Next" to continue or hit "Back" to make any changes. |
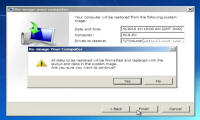
You will be warned now that all drives to have data restored in them, will loose their data and will be formated. If you are happy enough with this then click "YES". Note: Once you hit "Yes" there is no turning back.
|
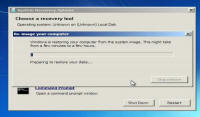
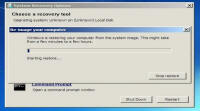
The restore will now begin..... |
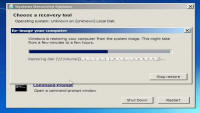
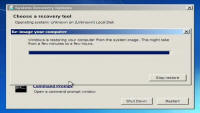
This will take sometime, depending on the size of your backup.... |
So you might as well go do something else as the computer does not require your assistance..... |
Finally the process will be complete..... |
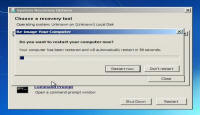
At the end (If you are present) you can speed up the process by 60 entire seconds by clicking "Reboot Now", otherwise it will do it itself. |
After reboot you should be returned to the desktop of the system that you backed up. |
| Tags: backup recovery, windows 7 backup, windows vista backup, system restore, Win7 system restore from dvd, windows 7 system restore, vista restore, vista system restore | ||
